Browned butter jam bars

As I’ve said before, baking non chocolate desserts is always somewhat of an interesting challenge for me. Since chocolate automatically makes pretty much anything better, removing the chocolate ingredient from the equation forces creativity and can result in some innovative and truly delicious baked goods. I happened to randomly have some jam in my cupboard and I don’t really do jam on toast, so I figured it would be best used in a jam bar. I looked up several recipes and loved one that had oatmeal in it and one that used browned butter, so I combined them and made the recipe a bit smaller and my adapted version is below. If you want a big rectangular pan of them go to the original recipe linked below.
These are a bit more of a special occasion baked good than an every day one (although it’s right on the edge – they aren’t complicated, there are just more steps than a typical cookie). It would also be a great birthday gift as they are quite aesthetically pleasing as well as tasty. The key here to all the deliciousness is of course browning the butter – both for the crust AND the filling. Yes please.
- 2/3 cup (150 g) unsalted butter, room temperature
- 1/3 cup powdered sugar
- 1 cup flour
Filling
- 2 large eggs
- 2/3 cup granulated sugar
- Scant 1/4 cup flour (don’t make it all the way full)
- 1/4 cup oats
- 2/3 teaspoon vanilla extract
- 1/3 cup (80 g) unsalted butter, room temperature
- 2/3 cup jam – I like the heavier fruity flavours like raspberry or blueberry as opposed to apricot or orange
First, preheat the oven to 190 C /375 F. To make the crust, melt the butter in a pan at medium-high heat till the butter starts to brown. When the butter is amber in color and smells slightly nutty (I do explain in detail how to brown butter here), remove from heat and pop into the freezer for it to cool down. I left mine in the freezer for about 20 minutes since I’m impatient, but you do want to make sure it’s quite cold and semi-frozen, so leave it in there for up to 40 mins if you want. (If you leave it longer than that then it will take some time to defrost.) In the pot that has the butter (in case you haven’t noticed, I am all about not using any extra bowls unless absolutely necessary), dump in the powdered sugar and flour and stir it up. Once the butter is workable use your hands until it combines into a dough. Don’t be afraid to get a bit messy here. Press it into a lined 9×9 pan and up the sides if there is enough dough, but just make sure it fully covers the bottom of the pan. Then chill it in the freezer for 10-15 minutes to set. Finally, bake it for 18-20 minutes, or until lightly golden and set, then remove from the oven and set aside.
While the crust is baking, make the filling by mixing together the eggs, sugar, flour, and oats in a large bowl. I just wanted some oats in there because I was trying to use up the teeny bit left at the bottom of the bag, so I used more oats than flour. (My flour was probably closer to 1/8 of a cup) Brown the remaining butter, then pour the butter into the egg mixture very slowly, whisking as you do it so the eggs don’t scramble. Whisk in the vanilla. Note that this will not be a dough of any sort – it should still be quite liquid in nature and will spread easily.
 Browning the butter for the crust
 Adding the powdered sugar and flour to make the crust dough
 Making the liquid filling
 Spreading the filling onto the baked crust
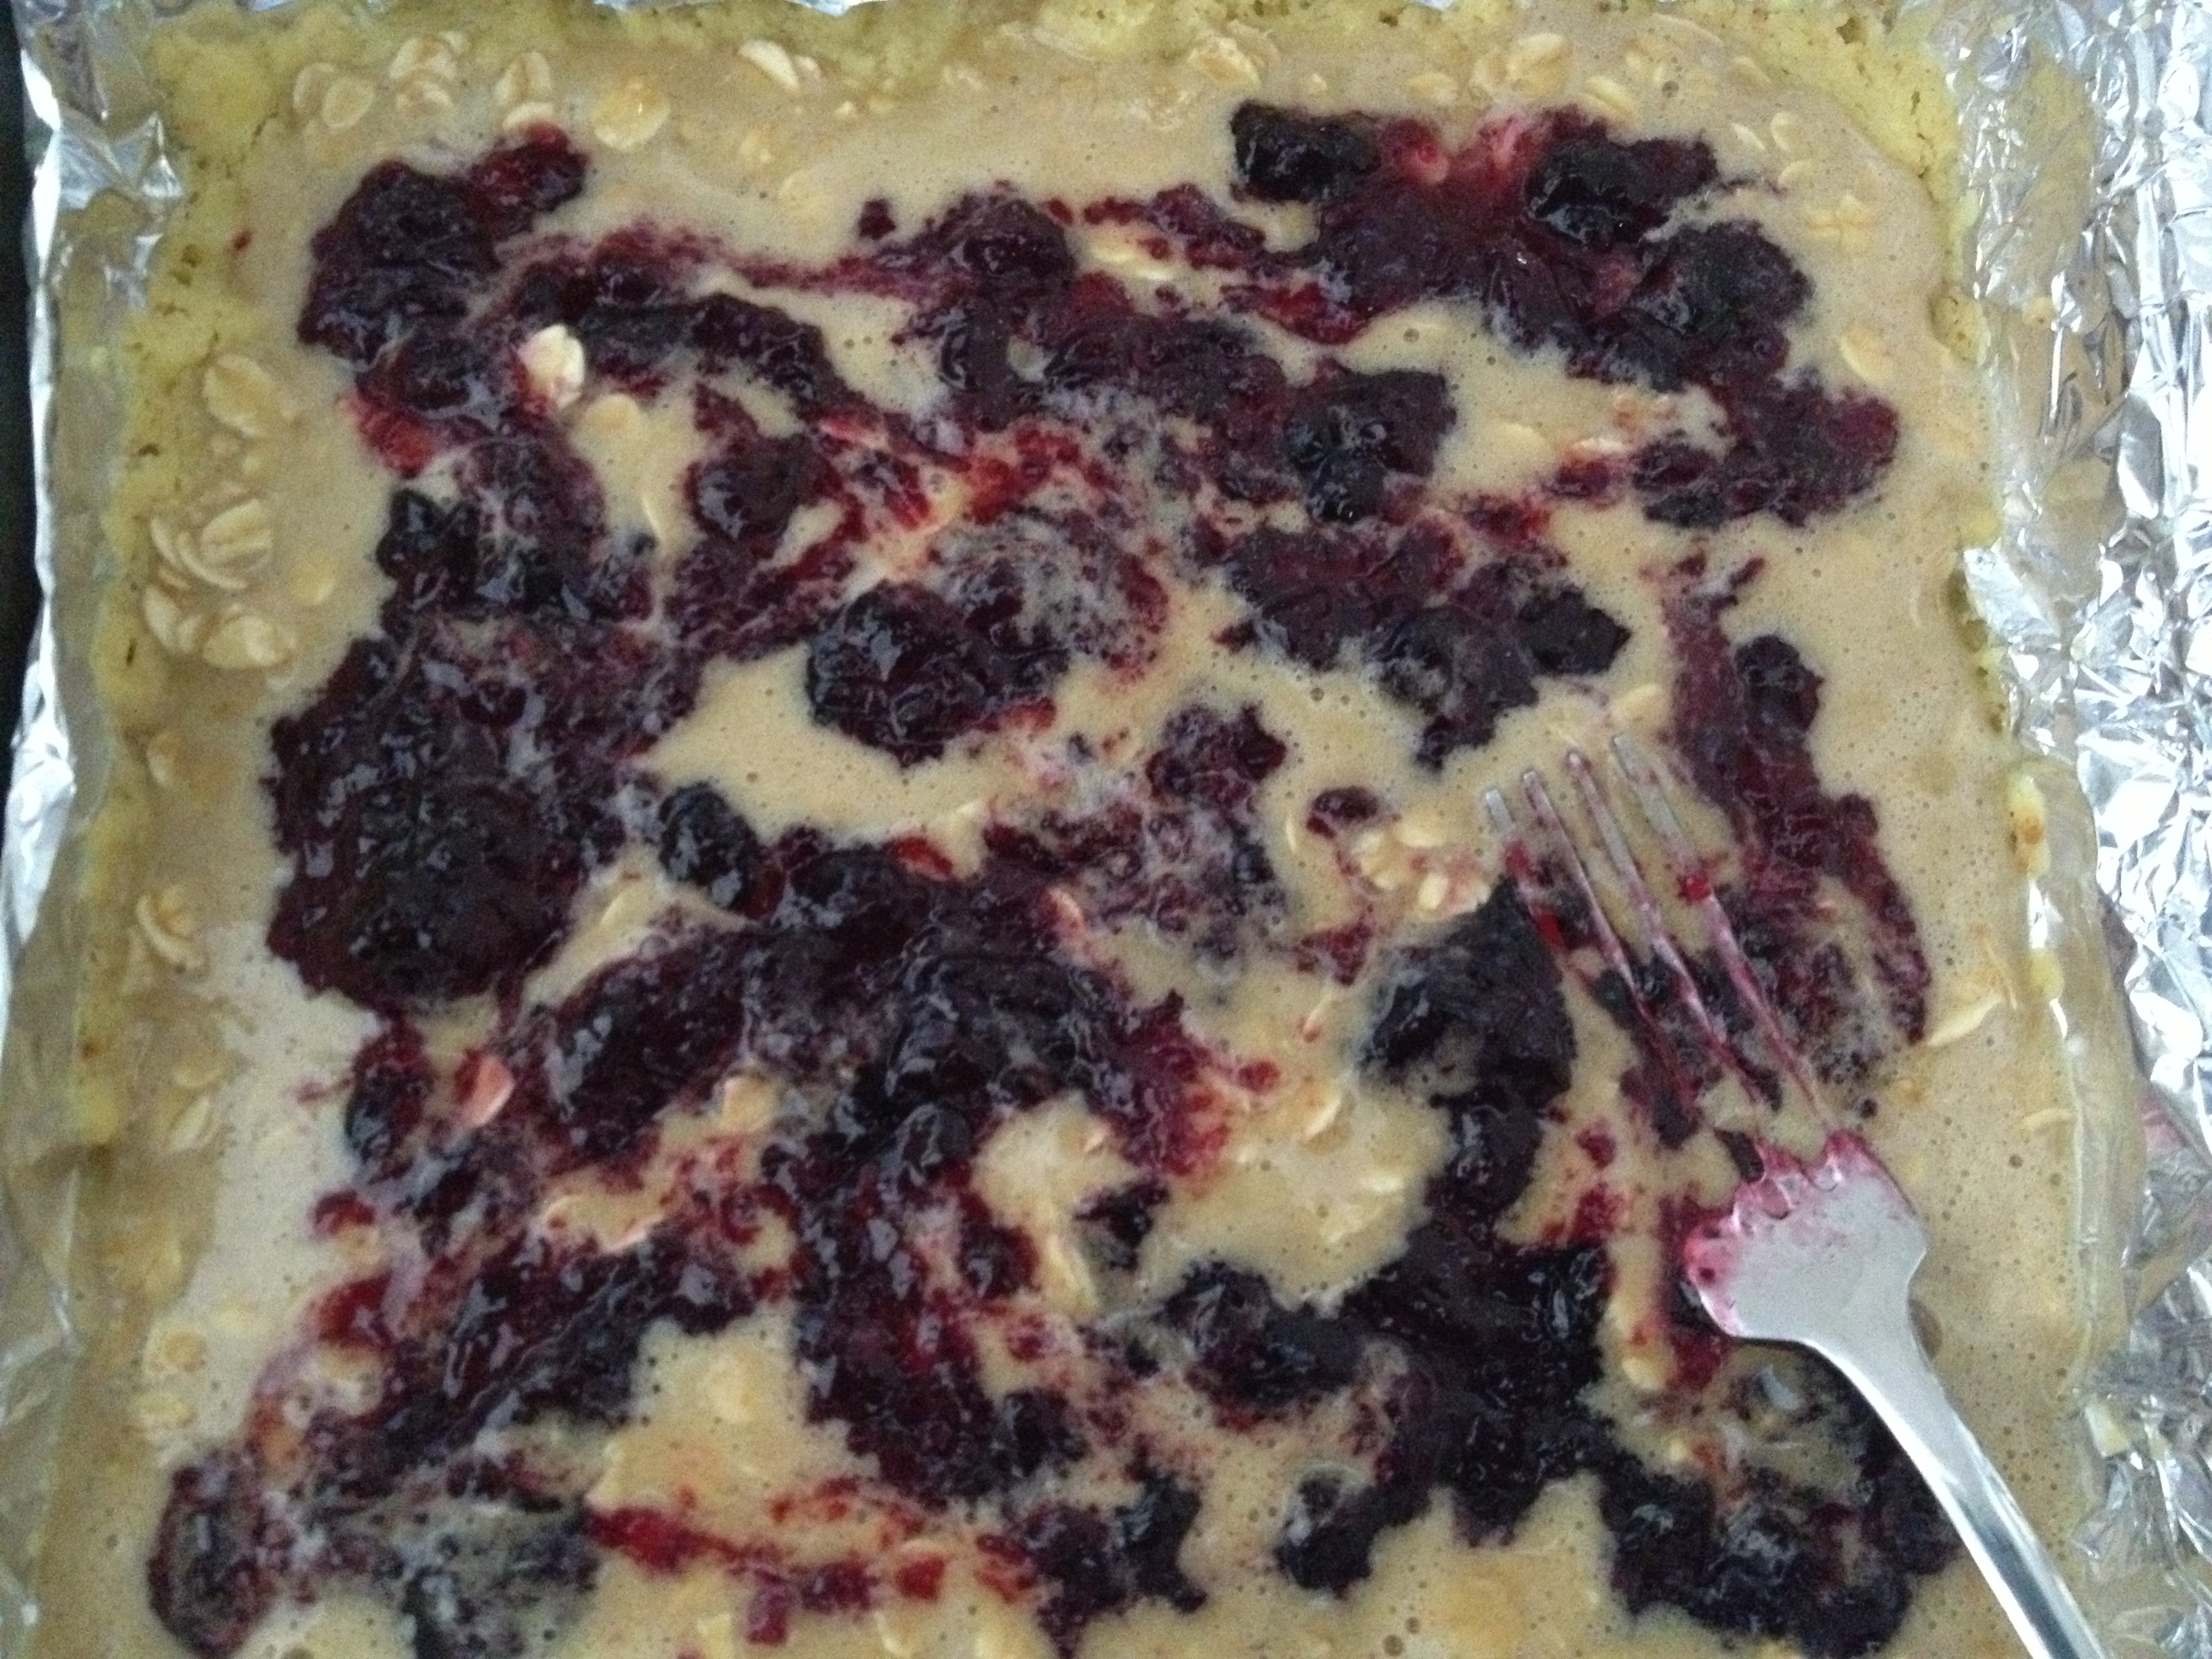 Spooning the jam all over it
 See, so much prettier when baked! These are almost done but not quite
 Finished product has a crackly texture on the top and is browned all over
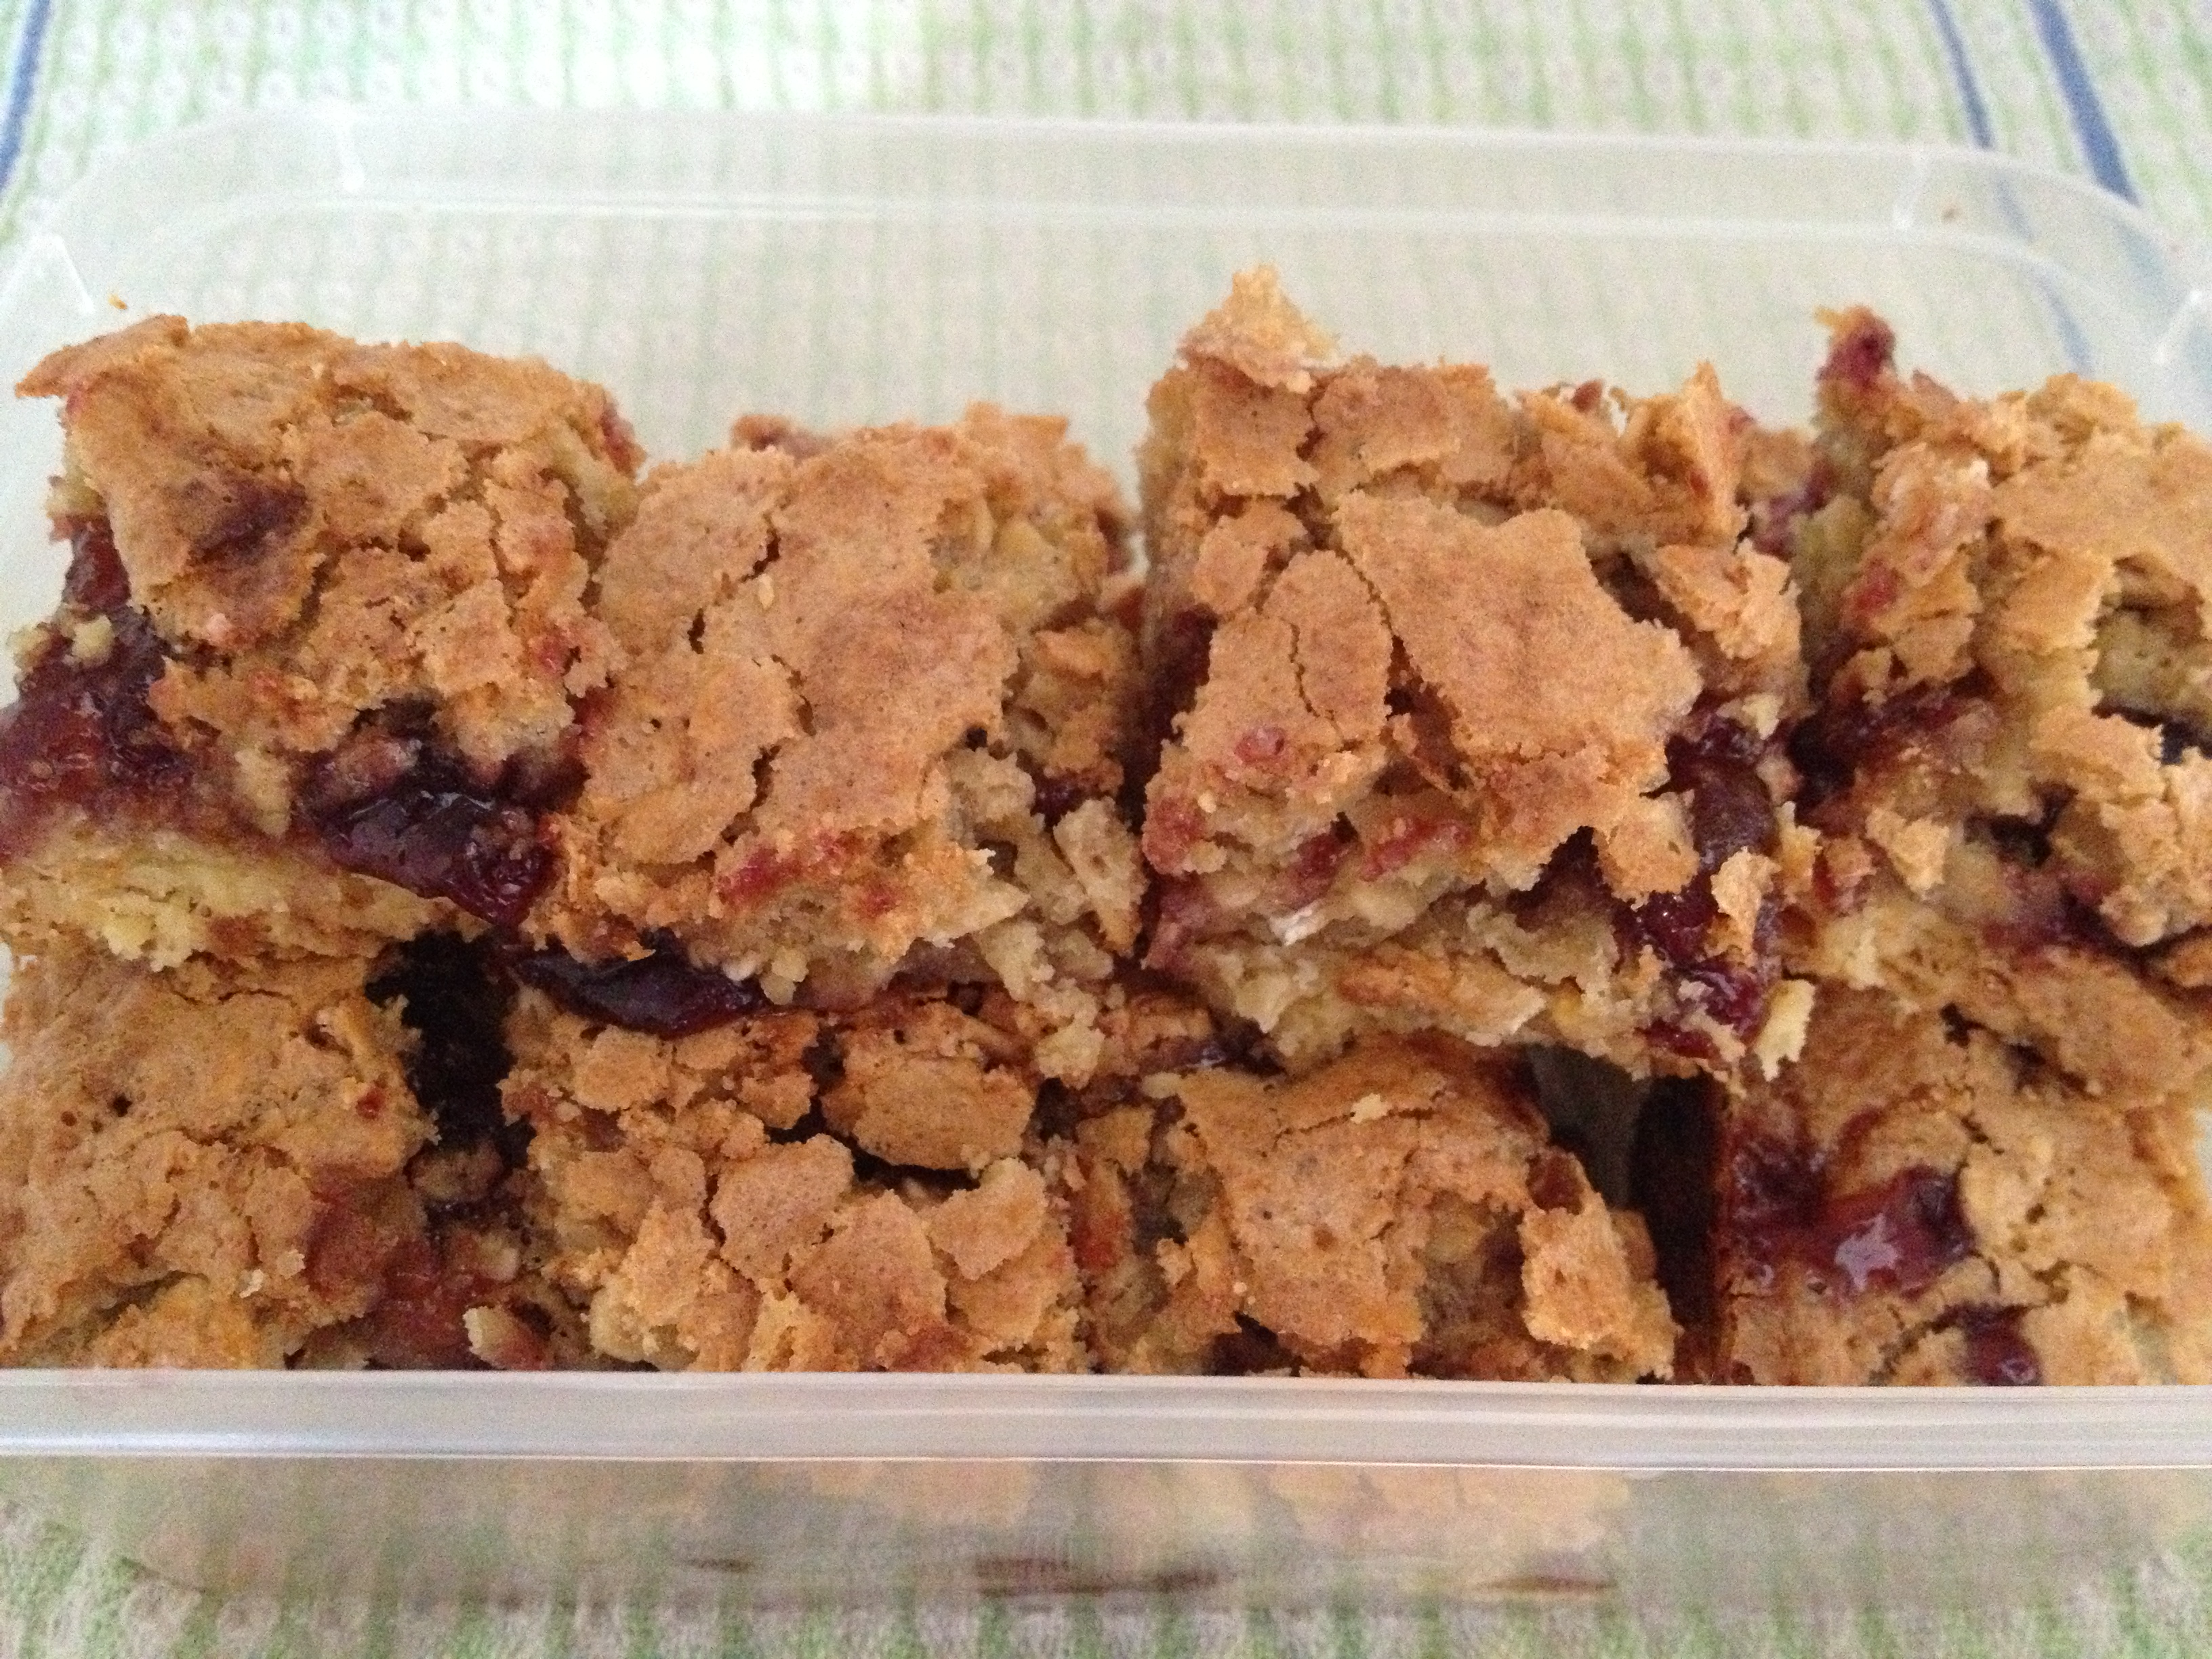 Cut into bars and ready to be transported as a dinner party
The texture of these bars is really fantastic and the jam just adds to that as opposed to being the centrepiece of it. This is definitely up with the carrot cake I made a while ago for best non chocolate dessert…and this is way less effort than a whole cake. And, this is great practice for discovering the wonders of browned butter. Enjoy!

Comments
One Response to “Browned butter jam bars”Trackbacks
Check out what others are saying...[…] One year ago: Browned butter jam bars […]